
Install extensions for Magento 2 with continuously updated features provide an easy way to improve your E-commerce website. Search on the Magento 2 marketplace, and you will find out whatever extensions you require.
In this article, we will show you how to install extensions to Magento 2 from the marketplace without any difficulties.
The Magento 2 extension installation guide includes three steps, and it should be implemented during off-peak time. However, several actions must be taken before and after this process.
1. Preparation for Magento 2 Marketplace Installation
Access to the latest extensions
– Sign in to your Magento store admin with your user account with the entire administrator rights and make sure that Cron is configured to run every minute for the easiest and quickest installation.
– On the Admin sidebar, click System > Tools > Web Setup Wizard
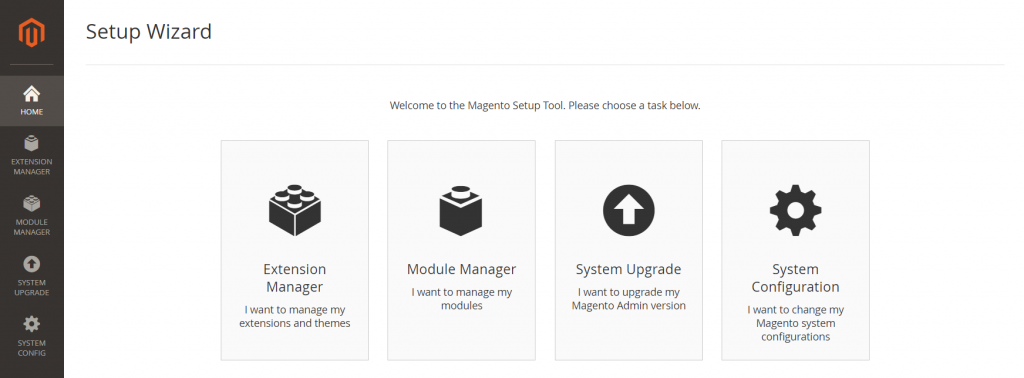
– Go to Extension Manager > Sign In
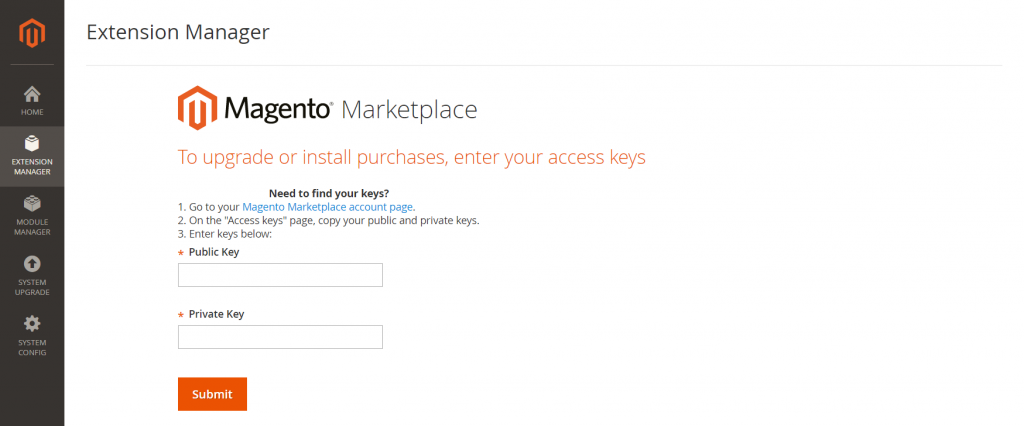
– When announced, take the Public Access Key and Private Access Key from your account and paste.
You have to go to the Magento Marketplace account page link, locate the keys from the Access keys page, and add them to the Admin page in case you need your access keys.
And then, click Submit.
– A list of latest updates and latest bought and installed Magento 2 marketplace extensions, as well as sample data, will be created within minutes.
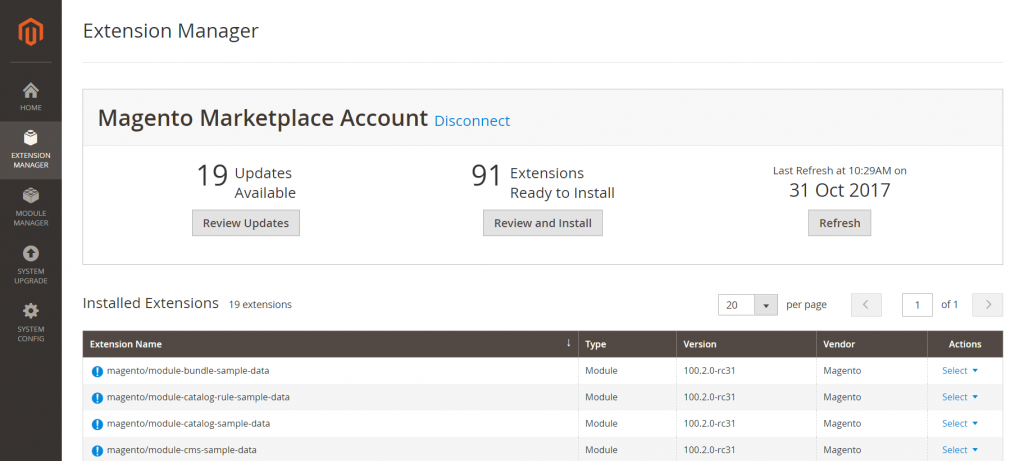
– Choose Review and Install in Extensions Ready to Install to see a summary of all extensions that are currently available.
– Decide on the version you like to install in the column Latest version.
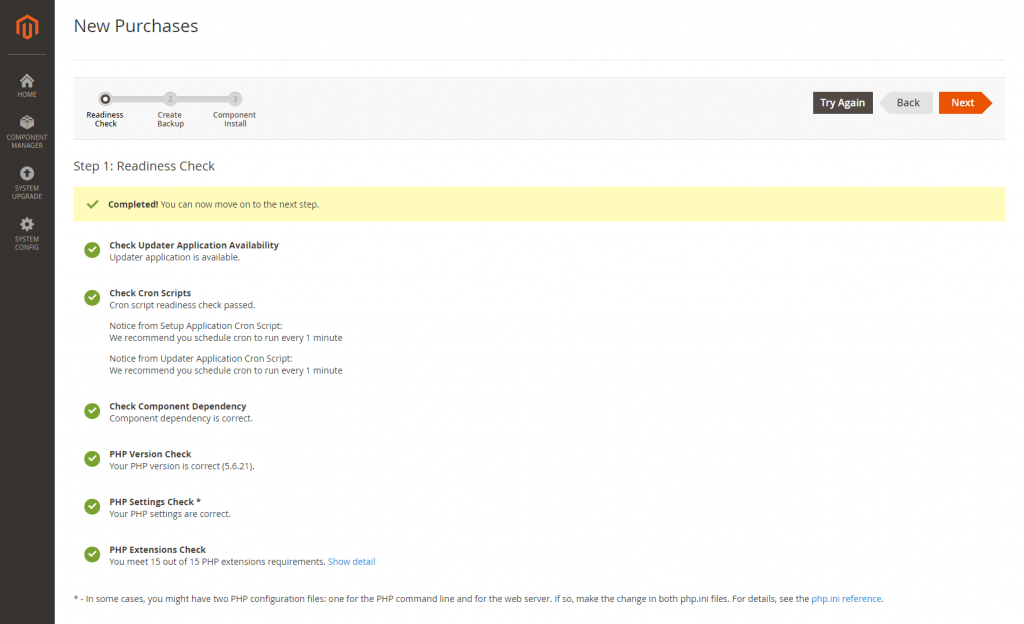
Readiness Check
Before starting the Magento 2 marketplace installation, a readiness check must be run.
– Click Start Readiness Check
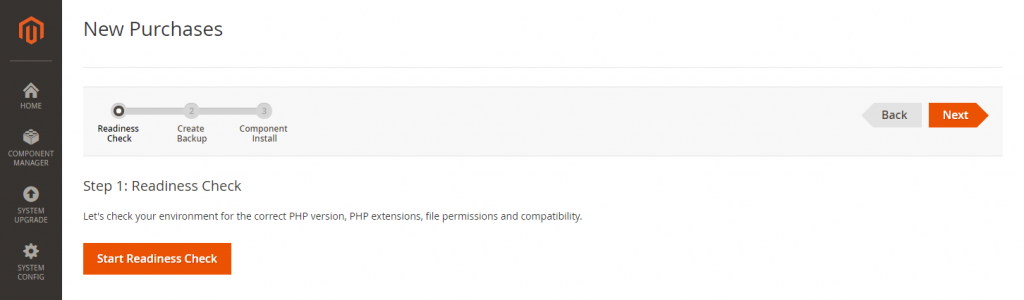
– Click Next when the process is finished.
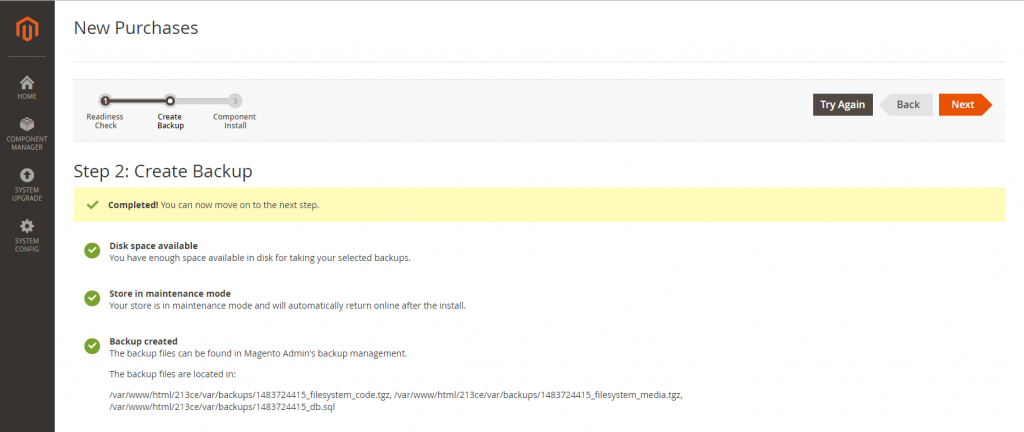
Create Backup
The maintenance mode of the website must be enabled during backup creation. The code, media, and the database are by default included in the backup. So get rid of any of them if you want.
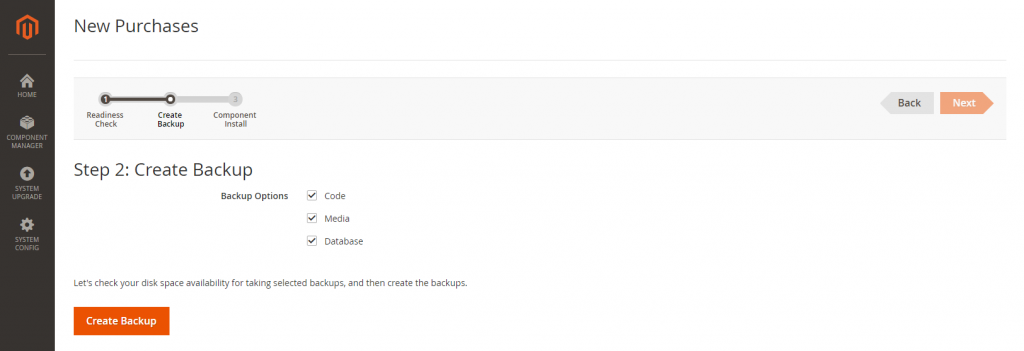
– Click Create Backup, and the process will take a few minutes to be finished. Then, click Next.
2. During the installation
The website will be off to the customers for protection during the process.
– Click Install. How much time the Magento marketplace installation takes depends much on the Cron setting. You can follow the progress in the Console Log.
– When the process completes, click Back to Setup Tool > System Configuration.
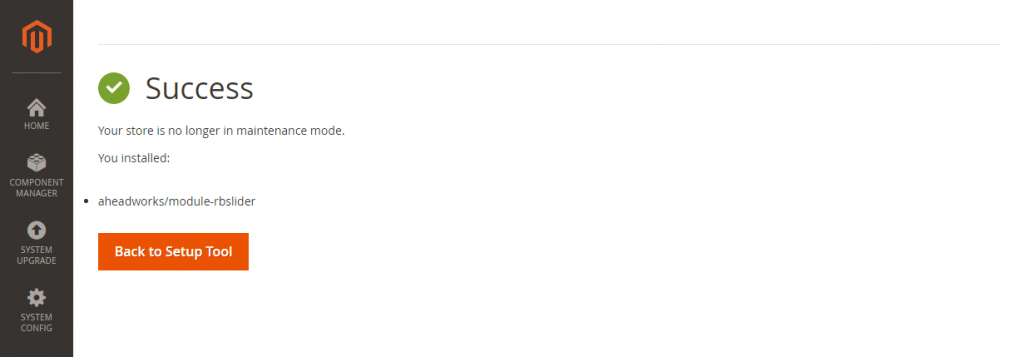
– Then, choose Reset to log out.
3. After the installation
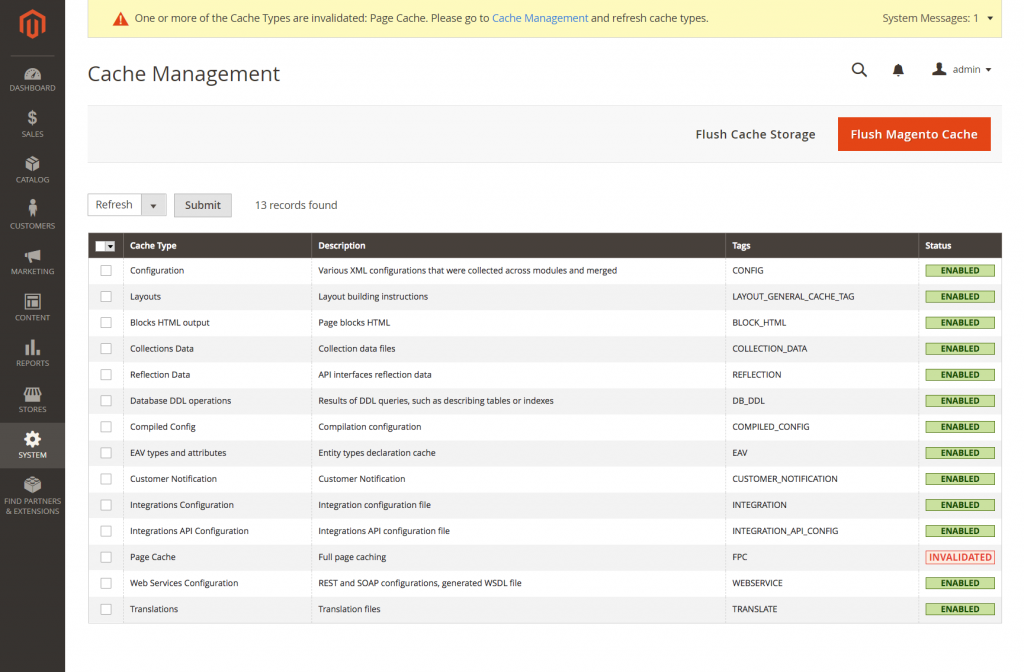
Flush Caches
This stage is indispensable after the installation is completed.
– Sign in to your store Admin.
– Click System > Tools > Cache Management on the Admin sidebar, or click the Cache Management link in the message above the workspace.
– Choose the checkbox at the beginning of the row to refresh all caches
– Set Actions to Refresh, and then click Submit.
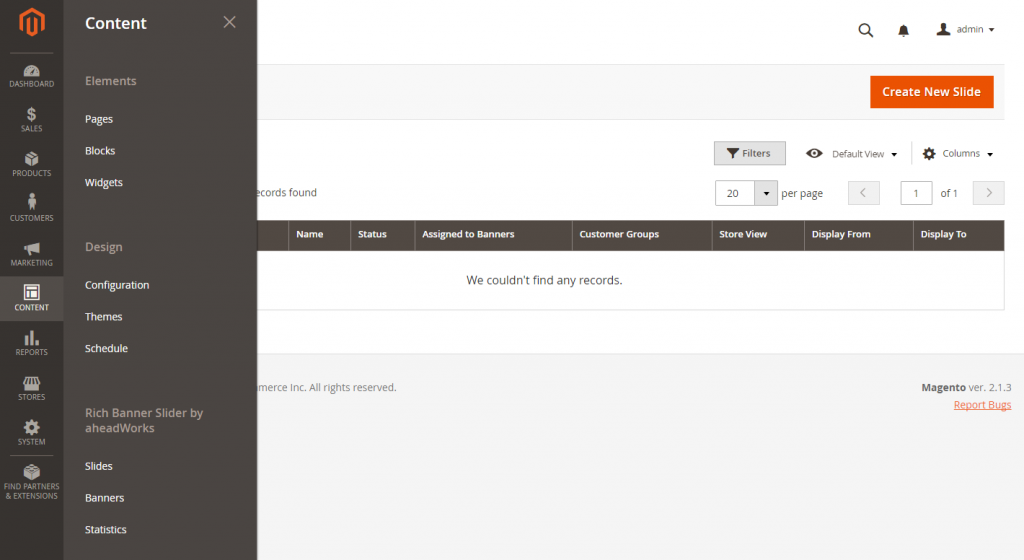
Configure the Extension for Your Store
– Sign in your store Admin.
– Click Stores > Settings > Configuration on the Admin sidebar
– You will see the new tab for the installed extension in the panel on the left. Next, abide by the instructions from the extension developer to finish the configuration.
– Seek for any new commands added to the Admin menu.
Above is a tutorial on how to install extensions to Magento 2 via the marketplace. We hope that it is informative and helpful to you.
If you have any suggestions on the Magento 2 extension installation guide, any questions about the article, or any requests for other tutorials, feel free to leave a comment or contact us directly.