
Step 1: Update the Email Templates
First of all, you have to update email template to present and reflect your brand. Make sure that the email which you have updated is exactly what you need for demonstrating your brand.
Step 2: Choose the Type of Transmission
- Open the Admin homepage. Then look at sidebar and choose Stores symbol. Next, under Settings, click on Configuration.
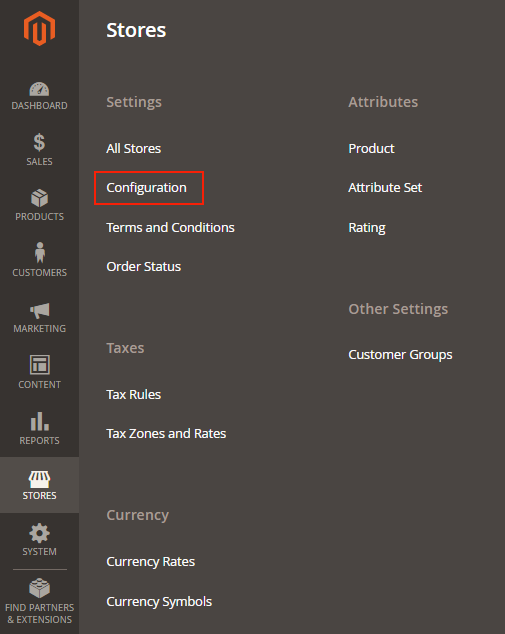
- When Configuration appears, choose Sales Emails in the panel on the left under Sales category.
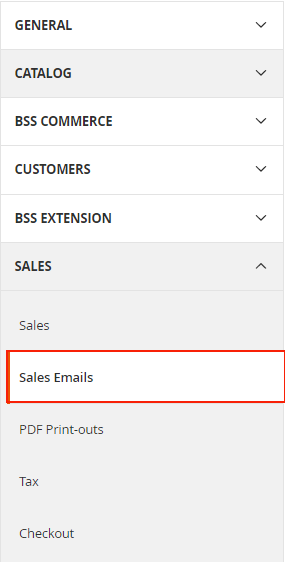
- Wait for Sales Emails till it appears, then expand the General Settings sector.

- In Asynchronous Sending, choose one of the following:
Disable: Sends sales email when triggered by an event
Enable: Sends sales email follows regular intervals periodly.
Step 3: Complete the Details for Each Sales Email Message
- Open the Order sector. Next, do the following:
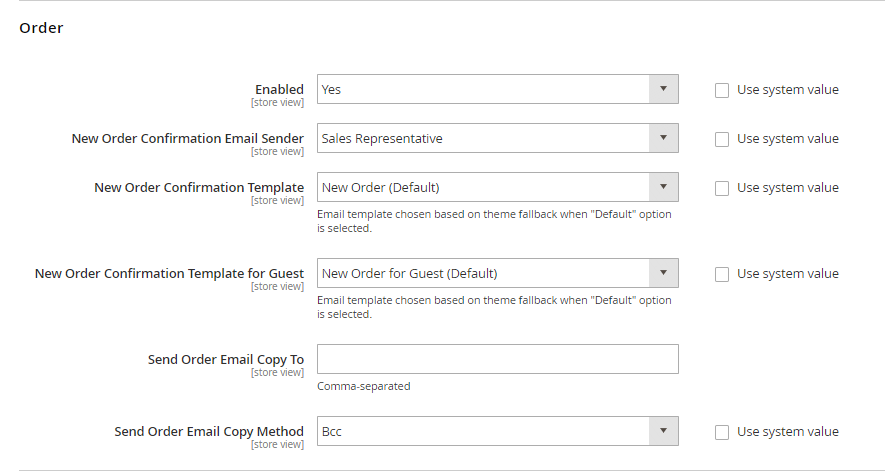
a. Set Enabled to ‘Yes”
b. In New Order Confirmation Email, configure the store contact that is represented as the sender of the Sale Emails.
c. Choose the store contact which is used for the email sent to registered customers in New Order Confirmation Template field.
d. In New Order Confirmation Template for Guest field, choose the template that the email sent to guests informs of. Guests are persons who do not own an account with your Magento 2 store.
e. In the Send Order Email Copy To field, enter the email address of people who are to receive a copy of the new order email. In order to send order email copy to a bulk of recipients, fill addresses in and separate them with a comma.
f. In Send Order Email Copy Method field, set to one of the following:
Bcc: Send the same email to all recipient at once. The BCC recipient is not visible to customers.
Separate Email: Send the copy email to customers separately.
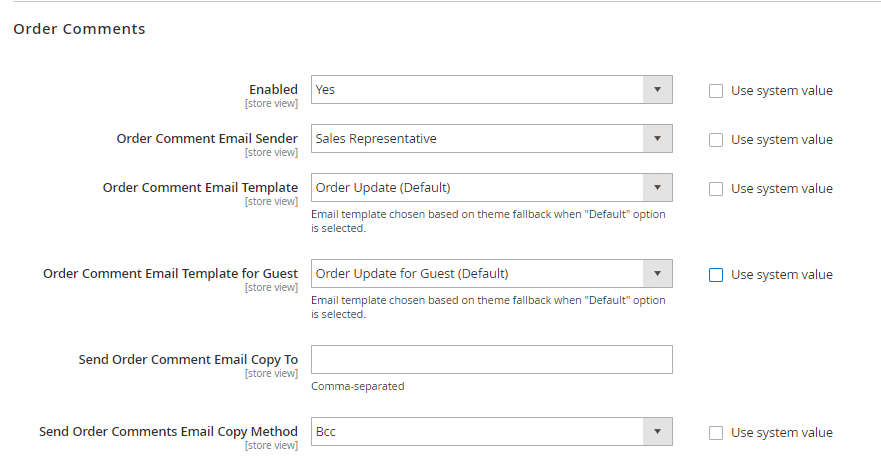
- Similarly, expand the Order Comments sector and do the same steps as what Order section requires.
- Configure all the remaining parts of sales emails: Invoice, Shipment and Credit Memo
8. When complete, tap Save Config to finish the configuration.
If you find it helpful for you, please Like, Share and Subscribe to keep updating for more upcoming blogs!