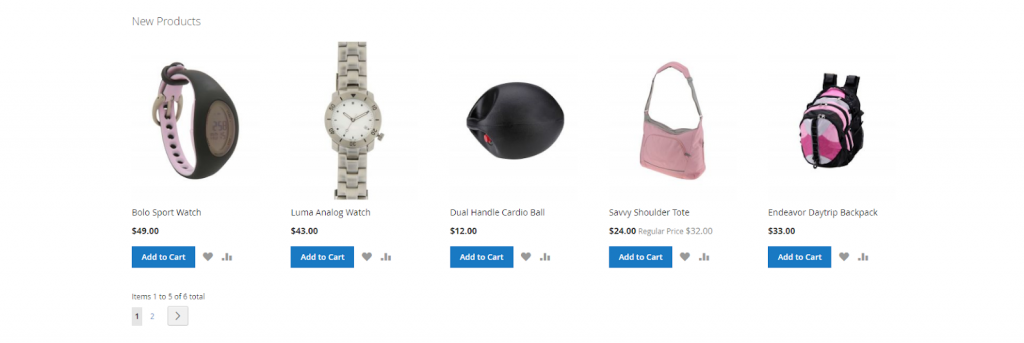
The list of the new products in Magento 2 is an example of dynamic content and includes live data which is called from your product catalog. In default Magento 2, The “New Products” list consists of the first eight products that are most frequently added. However, we can also make configuration to this list so that it can have only products within a specified date range.
Step 1: Set the Date Range for Each Product
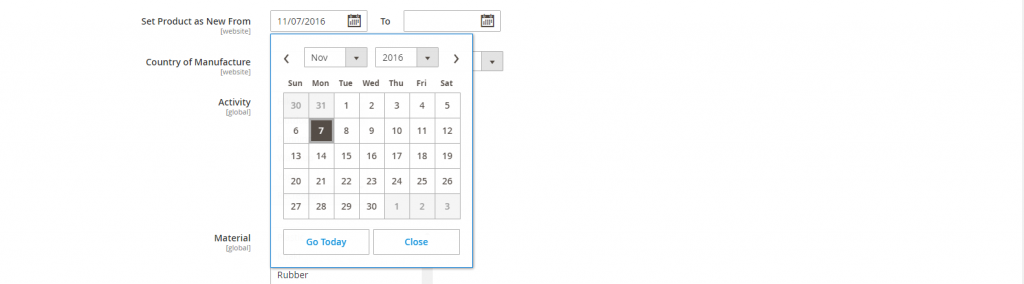
To display a product in the list by date range, you must enter the “New From” dates in the product. The product will be displayed in the New Products list during the date range specified.
- On the Admin sidebar, click Products. Then under Inventory, click Catalog.
- Search every product that you want to feature, then open in edit mode. After that, following these tips:
- In the Set Product as New From field, click the calendar. After that, select the first date that you want the product to be featured.
- In the To field, click the calendar. After that, select the last date that you want the product to be featured.
- After complete, click Save.
- When you are prompted to reindex and refresh the page cache, click the links on the top of the workspace, and follow the tips.
The list of products is now displayed on the Home Page for the specified date range.
Step 2: Create the Widget
The code that controls the content of the New Products list and its placement in your store is created by the Widget tool.
- On the Admin sidebar, Click Content. Then under Elements, select Widgets.
- In the upper-right corner, click Add Widget.
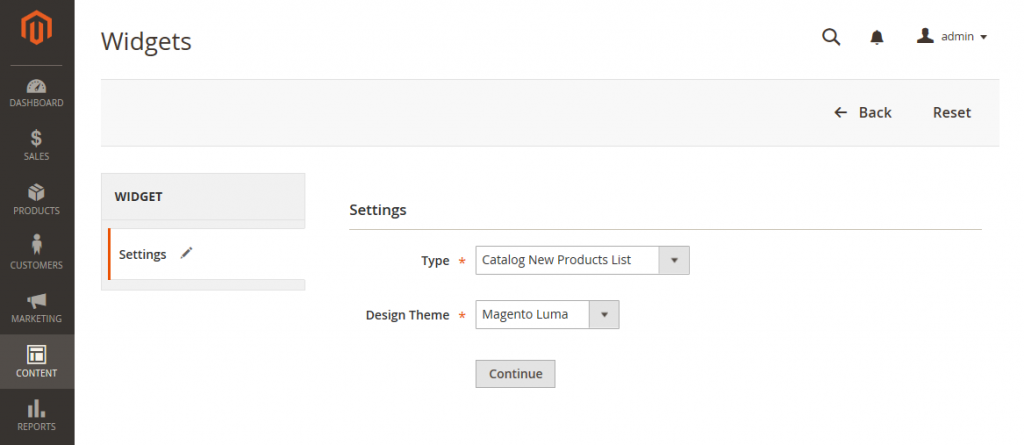
- In the Settings section, follow these tips:
- Change Type to “Catalog New Products List.”
- Select the Design Theme which is used by the store.
- Click Continue.
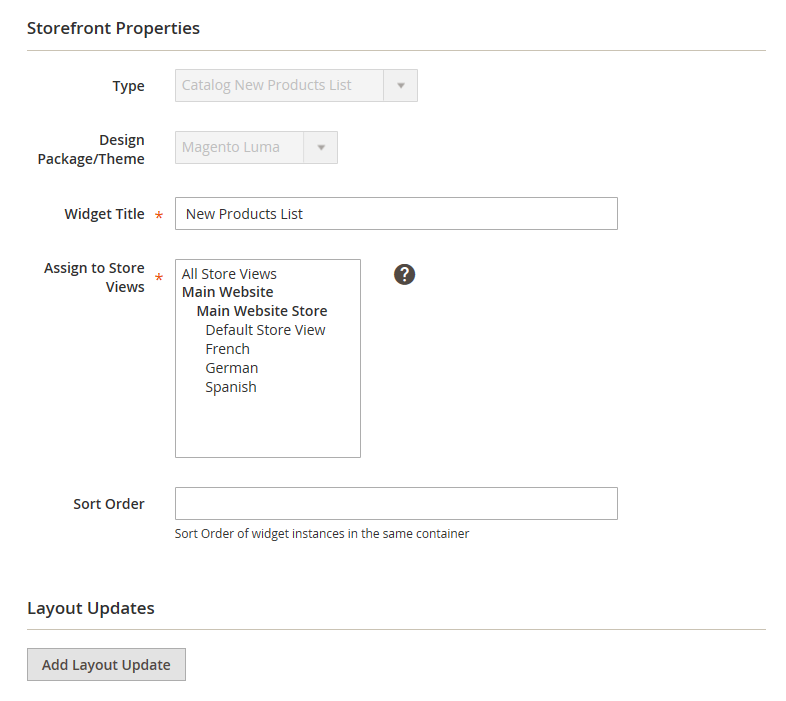
- In the Storefront Properties option, complete the following fields:
| Widget Title | Enter a descriptive widget title. This title is visible only from the Admin. |
| Assign to Store Views | Select the store views where the widget will be visible. You can choose a specific store view, or “All Store Views.” |
| Sort Order | (Optional) Enter a number to determine the order this items displays with others in the same place of the page. (0 = first, 1 = second, 3= third, and so on.) |
Step 3: Choose the Location
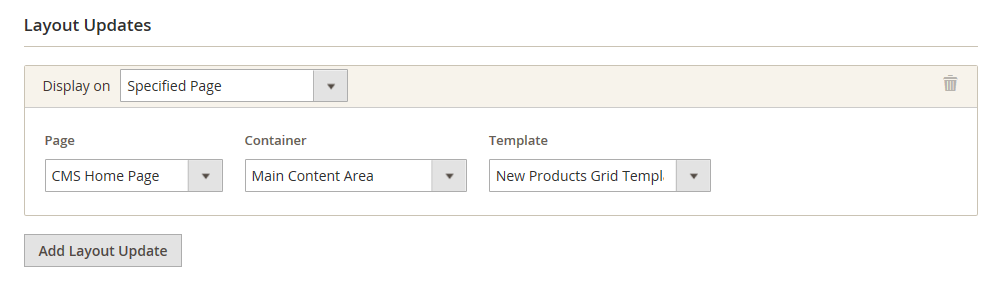
- In the Layout Updates section, tap Add Layout Update. Then, do the following:
- Set Display On to “Specified Page.”
- Set Page to “CMS Home Page.”
- Set Block Reference to “Main Content Area.”
- Set Template to one of the following:
New Product List Template
New Products Grid Template
- Click Save and Continue Edit.
From now on, to refresh the cache, you can ignore the message.
Step 4: Configure the List
- On the left of the panel, select Widget Options. After that, follow these tips:
- Change Display Products to one of the following:
| All Products | Lists products in grouping, starting with those most recently included. |
| New Products | Lists only the products which are distinguished as “New.” A product is considered to be new during the date range which is specified in the “Set Product As New From/To” fields. The list will have nothing if the date range expires and not any new products characterized. |
- Complete the remaining information as follows:
- To provide navigation control for lists with multiple pages, change Display Page Control to “Yes.” After that, in the Number of Products per Page field, input the number of products that you want to display on each page.
- Set Number of Products to Display to the number of new products that you want to include in the list. The default setting is 10.
- In the Cache Lifetime (Seconds) input space, select how regularly you want to refresh the list of new products. The cache is set to 86400 seconds, or 24 hours by default.

- After complete, click Save.
- When provoked to refresh the cache, click the link in the message on the top of the workspace, then follow the tips.
Step 5: Preview Your Work
- On the Admin sidebar, click Content. After that under Elements, choose Pages.
- Find the page in the grid where the New Products list is to display. After that, in the Action column, click the Preview link.