
Magento themes are perhaps the most crucial part of any ecommerce stores. No matter what your products are, your website’s appearance has to be stunning so that it could draw the customers’ attention and they’ll stay on the store.
By default, there are some pre-made themes which are suitable for those who do not want to spend time installing a new one. However, what about those who prefer to set up a Magento 2 theme on their own.
The article will make it clear why Magento 2 themes are brilliant and the way how to install a new one without any difficulties. Let’s get it started!
Why You Need Magento 2 Themes?
Magento’s default responsive themes are compatible with different devices, namely desktop, tablet, and mobile devices. When Magento detects a particular ID of browser or user agent, it uses Magento theme that is particularly designed for that browser.
But, to be honest, the default Magento 2 themes are somewhat monotonous. They include just a few features, so sometimes do not meet each of your requirements. That’s why you must come to an advanced theme and here is the step-by-step guide which shows you how to install Magento 2 themes manually.
How to Install Themes?
Step 1: Download Magento 2 Themes
Choose your favourite Magento 2 themes and download them. Then unzip the archive of the theme and find two directories: app and pub.
Step 2: Upload the theme
Access the root directory of your Magento 2 store using FileZilla or any SFPT client. Get the app and pub folder uploaded in the root directory that you got after extracting the zipped folder of Magento theme.

Step 3: Run Commands
Connect your store via SSH and go to the root directory of your store.
To upgrade the setup, run this command:
![]()
To deploy the static content, run the command:
![]()
Step 4: Apply the Theme
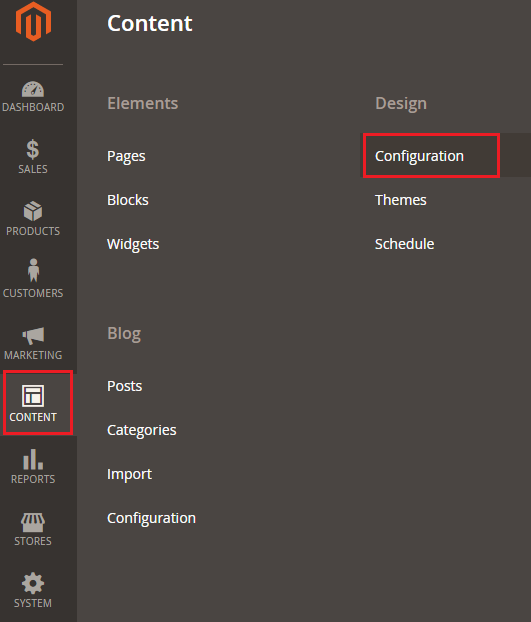
Open the admin panel of your store and go to Content → Configuration.
Now click on Edit
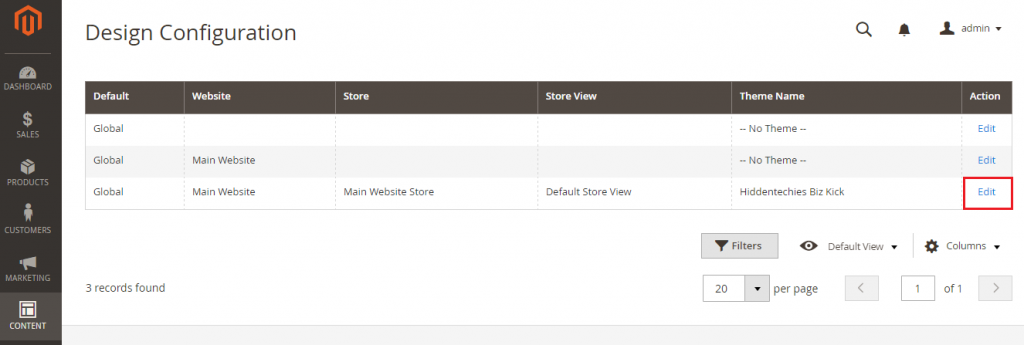
Select the theme from the Applied Theme drop-down menu which you have uploaded. Now just click on Save Configuration.
All done! You can now visit your store and you will see your new theme.
Conclusion
There are many things involved in the success of every ecommerce store, but a great theme is one of the most prominent ones.
Although Magento’s default responsive themes include outstanding features, they are boring to some extent. The features are limited, which at times cannot meet all your expectations. That is why we are here to help you with your problems.
I believe that after following this simple guide, you should be able to install Magento themes. If you have any further questions or suggestions, let us know in the comment section below.
Read more: